How to help Trees and Shrubs survive a hot New England summer
Helping Trees and Shrubs Survive a Hot Connecticut Summer Connecticut summers can be unpredictable. A stretch of heavy rain may be followed by high heat,
Starting seeds indoors is a rewarding way to get a jump on the growing season, especially in Connecticut’s climate, which predominantly falls within USDA hardiness zones 6a to 7a. By beginning seeds indoors, gardeners can ensure robust transplants ready to thrive once the danger of frost has passed.
When to Start Seeds Indoors
Timing is crucial for successful seed starting. In Connecticut, the last expected frost date typically falls between late April and mid-May, depending on your specific location. To determine the optimal planting schedule, count backward from your area’s last frost date using the seed packet’s recommendations. For instance, tomatoes, which require a longer growing season, should be started indoors about 6-8 weeks before the last frost date. Conversely, faster-growing plants like cucumbers may only need 3-4 weeks.
Selecting the Right Seeds
Choose seeds suited to Connecticut’s climate. Cool-season crops such as broccoli, cabbage, and lettuce can be transplanted outdoors earlier, as they tolerate cooler temperatures. Warm-season crops like tomatoes, peppers, and eggplants should be transplanted after the last frost when the soil has warmed sufficiently.
Essential Supplies
To begin seed starting, gather the following materials:
Steps for Successful Seed Starting
Prepare Containers: Clean and sanitize containers to prevent disease. Fill them with moistened seed-starting mix, leaving about half an inch below the rim.
Sow Seeds: Plant seeds at the depth specified on the seed packet. Generally, seeds should be planted at a depth twice their diameter.
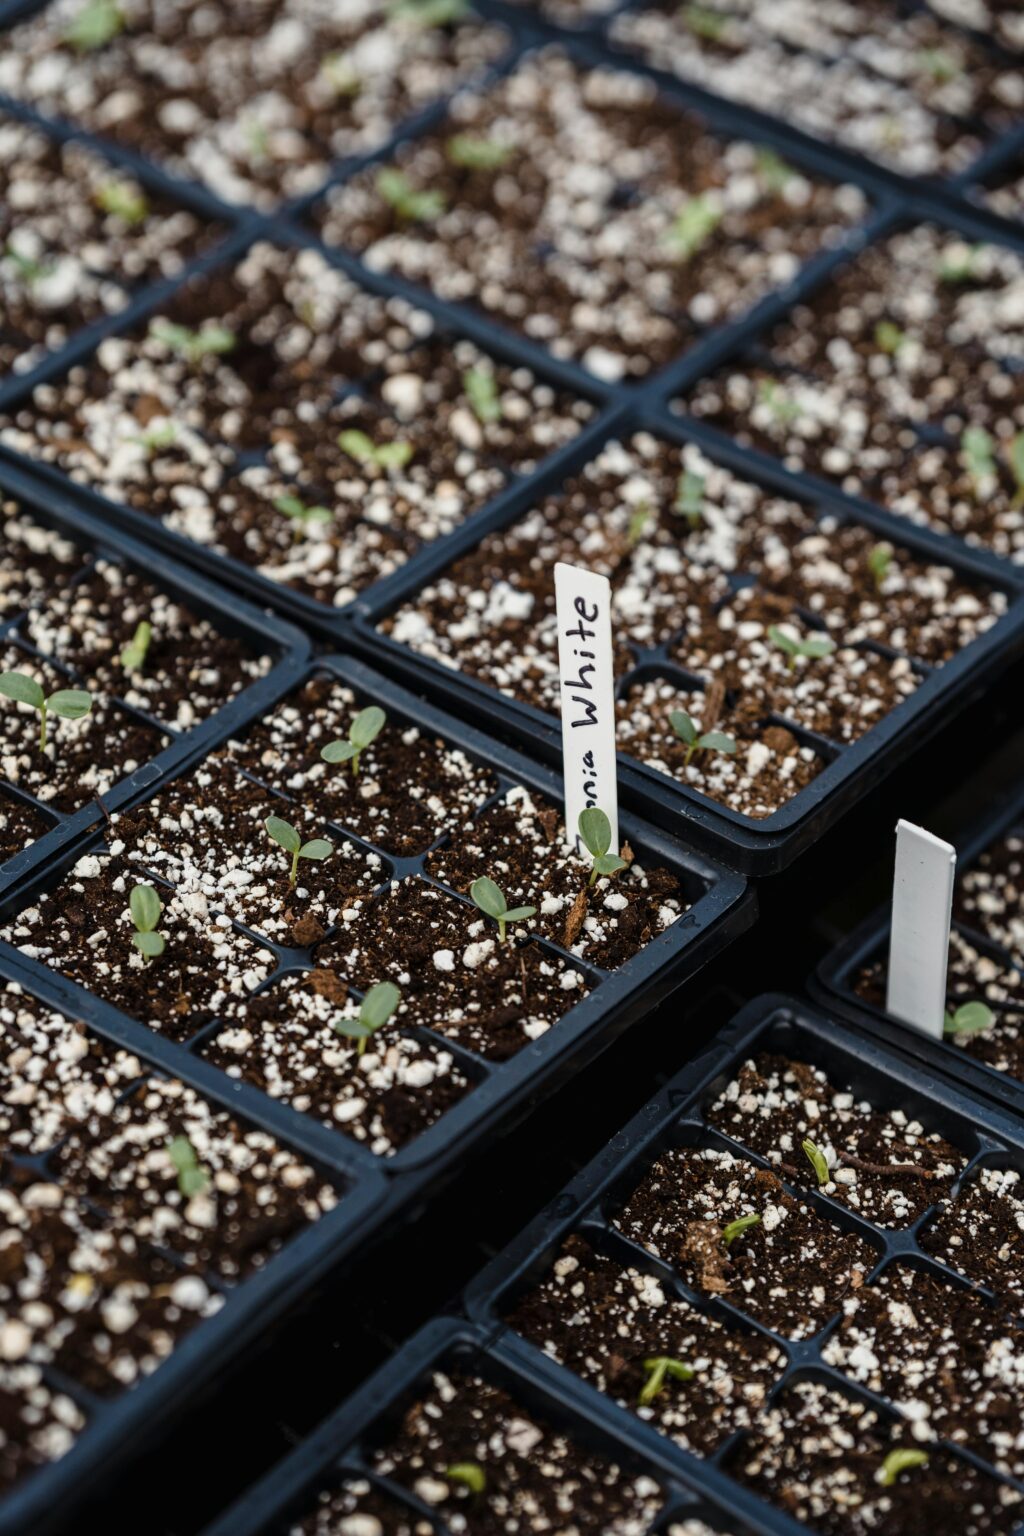
Label Plantings: Clearly label each container with the plant variety and sowing date.
Provide Optimal Conditions: Place containers in a warm location, ideally between 65-75°F (18-24°C). Use a heat mat if necessary to maintain consistent warmth.
Light Exposure: Once seedlings emerge, ensure they receive 12-16 hours of light daily. If natural light is insufficient, supplement with fluorescent or LED grow lights.
Watering: Keep the soil consistently moist but not waterlogged. Water from the bottom by placing containers in a tray with water, allowing the mix to absorb moisture.
Thinning: Once seedlings develop their first true leaves, thin them to prevent overcrowding, leaving the strongest plant in each container.
Hardening Off: Before transplanting outdoors, acclimate seedlings to external conditions by gradually exposing them to sunlight, wind, and temperature variations over 7-10 days.
Transplanting to the Garden
After the last frost date and once seedlings are hardened off, transplant them into the garden. Choose a cloudy day or transplant in the evening to reduce transplant shock. Ensure the soil is well-drained and enriched with organic matter to support healthy growth.
By following these guidelines, Connecticut gardeners can successfully start seeds indoors, leading to a productive and enjoyable growing season.
Missed some of our other posts? 💡
catch up on Moscarillo’s posts below
Helping Trees and Shrubs Survive a Hot Connecticut Summer Connecticut summers can be unpredictable. A stretch of heavy rain may be followed by high heat,
Heat-Tolerant Plants for Connecticut Gardens Connecticut summers can be unpredictable. One week brings heavy rain, and the next delivers intense heat and dry soil. Choosing
Bring the Buzz: Attracting Pollinators to Your Connecticut Garden There’s nothing quite like a garden that feels alive: bees moving from bloom to bloom, butterflies
Hydrangea Varieties at Our West Hartford and Torrington Location Hydrangea season is here, and our West Hartford and Torrington locations has a beautiful lineup of
🌿 Celebrate Houseplant Month This January at Moscarillo’s January is Houseplant Month at Moscarillo’s, and we’re turning the entire month into a celebration of all
The Best Christmas Plants to Brighten Your Home This Holiday Season The holidays are the perfect time to bring a little extra life, color, and